
What Are The Header And Footer In Google Sheets?
Header and footer in Google sheets are nothing but the top and bottom sections in the worksheet that appears in the printed sheet. This section helps users display the essential information such as page number or custom text in Google sheets, thus helping us create professional and organized sheets in Google sheets.
For example, consider the below table showing products and units sold in columns A and B respectively.

Now, let us learn how to insert header and footer in Google sheets for the given data.
To start with, insert the data in the spreadsheet and click on File. Select Print. We can see Print settings tab as shown in the below image.

Here, we can choose the desired setting. Likewise, we can use header and footer in Google sheets.
In this article, let us learn how to add, remove and customize header and footer in Google sheets with detailed examples.
Use this Header And Footer In Google Sheets Template to follow along with the examples in this article.
Download Excel TemplateKey Takeaways
- Header and footer in Google sheets is an option used to add specialized additional information in the spreadsheet.
- It is the text we can position at the top and bottom of the spreadsheet for the given table in Google sheets.
- In Excel, we can add header and footer and edit in the spreadsheet right away but iin Google sheets, we can do the changes in Print settings window that appears when we click File > Print.
- In Google sheets, adding or customizing headers and footers is simple and can be altered according to the user’s needs.
How To Add A Header And Footer In Google Sheets?
For example, consider the below table showing marks obtained by students in a test in columns A and B respectively.

Now, let us learn how to insert header and footer in Google sheets for the given data.
The steps are:
Step 1: To start with, insert the data in the spreadsheet and click on File.

Step 2: Next, select Print.

We can see Print settings tab as shown in the below image.

Step 3: Here, click on the Headers & footers option as shown in the below image.

Step 4: The following list of options such as Page numbers, workbook title, sheet name, current date and current time appears. It is as shown below.

Step 5: Now, note that the users can select any of the options we want to include in headers & footers in Google sheets. In this example, let us select Page numbers and Sheet name.

Step 6: As soon as select, we can see the sheet displaying sheet name and page number, as shown in the below image.

Likewise, we can add header and footer in Google sheets.
How To Remove Header And Footer In Google Sheets?
Till now, we learned how to add headers & footers in Google sheets. Now assume that we have to add headers & footers for the given table showing marks obtained by students in various subjects in two semester exams in columns A and B respectively.

Now, let us use the above steps to insert header and footer in Google sheets for the given data.
The steps are:
Step 1: To start with, insert the data in the spreadsheet and click on File.
Step 2: Next, select Print.
We will be able to see Print settings tab as shown in the below image.

Step 3: Here, click on the Headers & footers option.
Step 4: Now, let us select all the following list of options such as Page numbers, workbook title, sheet name, current date and current time. It is as shown below.
Step 5: As soon as select, we can see the sheet displaying Page numbers, workbook title, sheet name, current date and current time, as shown in the below image.

Likewise, we can add header and footer in Google sheets.
Now, let us learn how to remove headers and footers.
To remove headers & footers, we can simply click on File > Print and click on Headers & Footers in Google sheets.
Then, deselect all the selected options as shown in the below image.

We can see the headers & footers are removed.
Likewise, we can remove headers & footers in Google sheets.
How To Put Custom Text In Header In Google Sheets?
For example, let us use the same example showing marks obtained by students in various subjects in two semester exams in columns A and B respectively.

Now, let us use the above steps to add custom text in header and footer in Google sheets for the given data.
The steps are:
Step 1: To start with, select the data and click on File.
Step 2: Select Print.
We can see Print settings tab as shown in the below image.

Step 3: Here, click on Headers & footers option.
We will be able to see Edit custom options as shown in the below image.

Step 4: Select the option. We can see a new sheet with Click to add text dialog box in the headers and footers section.

Step 5: We can add any text as required by the user. In this example, let us enter the text, ‘Custom Text’ in the headers and footers space as shown in the below image.

Likewise, we can add custom text in headers & footers in Google sheets.
How To Assign Page Number In Footer Text In Google Sheets?
For example, consider the below table showing sample products and sales in columns A and B respectively.

Now, let us learn how to assign page number in footer in Google sheets for the given data.
The steps are:
Step 1: To start with, insert the data in the spreadsheet and click on File.
Step 2: Next, select Print.
We can see Print settings tab as shown in the below image.

Step 3: Here, click on the Headers & footers option. It is as shown below.

Step 4: The following list of options such as Page numbers, workbook title, sheet name, current date and current time appears. It is as shown below.

Step 5: Now, note to add page numbers, we need to simply click on Page Numbers option.

Step 6: As soon as select, we can see the sheet displaying page number in the footer, as shown in the below image.

Likewise, we can add page number in footer in Google sheets.
Important Things To Note
- Google sheets header and footer helps users add content such as page numbers, sheet name, current time and worksheet title in the headers and footers section.
- Remember, headers and footers are the sections on the top and bottom of the sheet, respectively.
- In Google sheets, the headers and footers can be included by selecting on File and clicking on Print option.
Frequently Asked Questions (FAQs)
For example, consider the below table showing products and units sold in columns A and B respectively.
Now, let us learn how to insert header and footer in Google sheets or the given data.
The steps are:
Step 1: To start with, select the data and click on File.
Step 2: Select Print.
We can see Print settings tab as shown in the below image.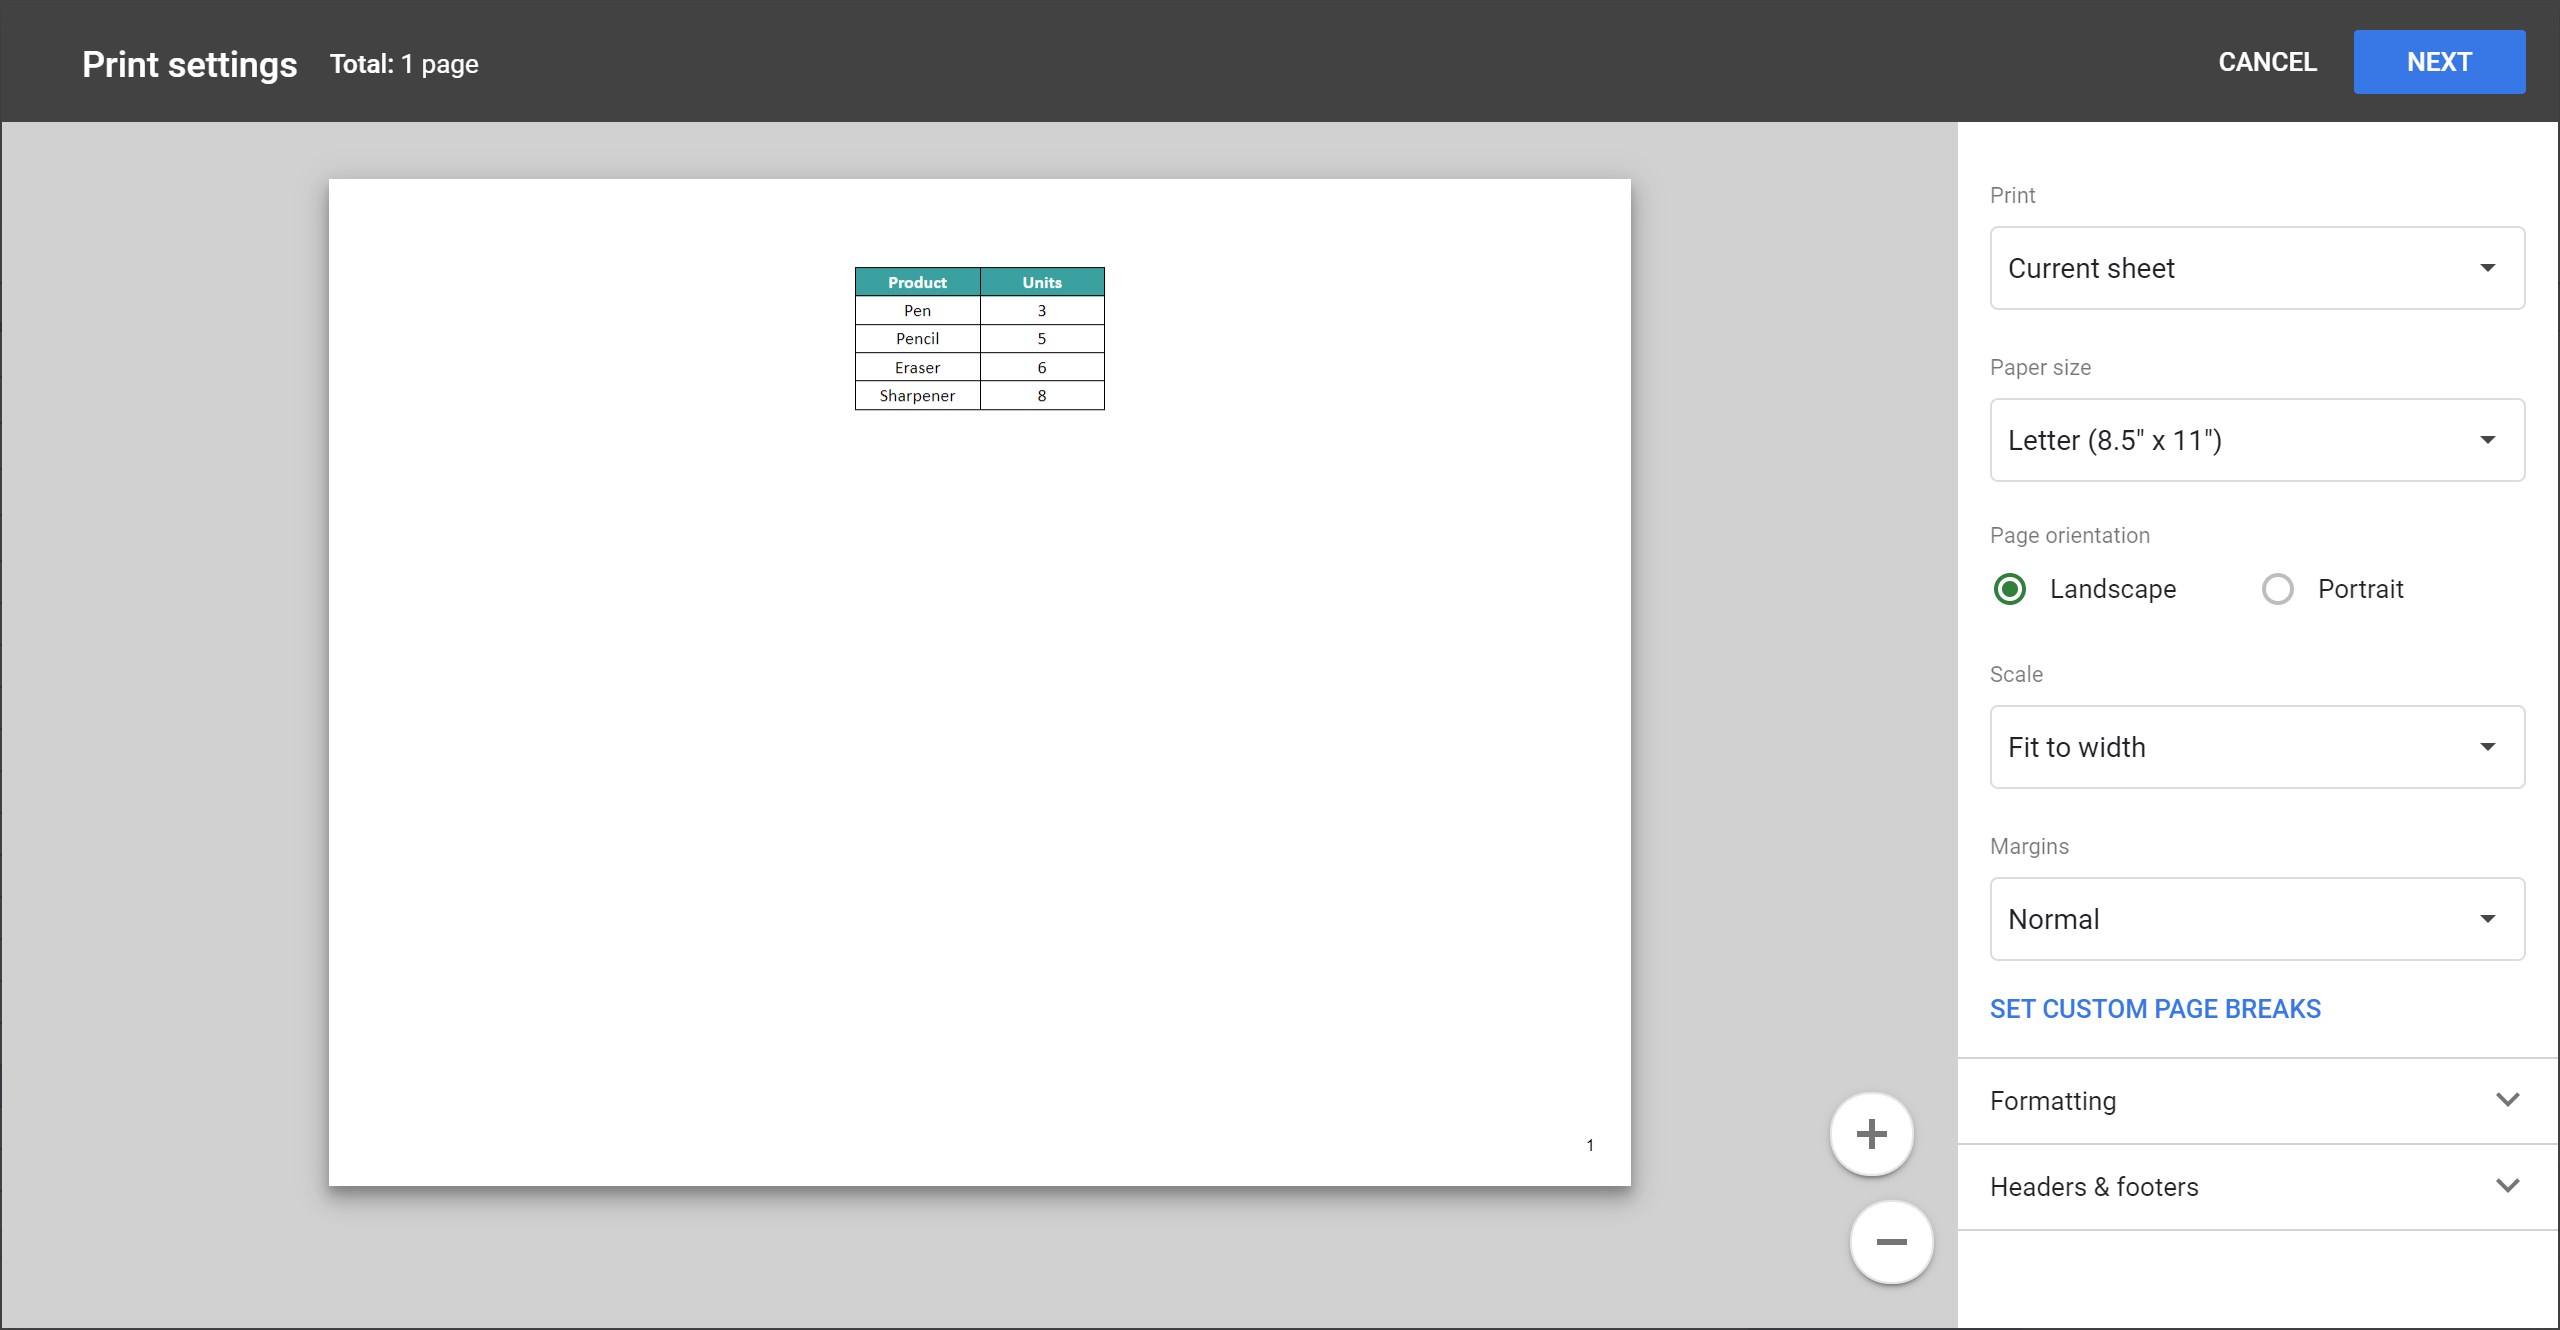
Here, we can choose the desired setting.
Likewise, we can use header and footer in Google sheets.
Remember, the shortcut key to open Print settings tab in Google sheets is Ctrl + P. Alternatively, we can also select File > Print.
In Google sheets, apart from headers and footers, we can also format and change the page aspect ratio, margins and page breaks.
Use this Header And Footer In Google Sheets Template to follow along with the examples in this article.
Download Excel Template