
What Is Quick Access Toolbar in Excel?
The Toolbar on Excel is an area in the Excel window’s upper right corner above the ribbon where we can add different features for quick access. Also known as the Quick Access Toolbar, we can choose the frequently used tools to be displayed.
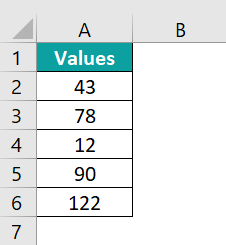
For example, the image depicts the values, and we will arrange the values in descending order using the Toolbar in Excel.
Use this Toolbar On Excel Template to follow along with the examples in this article.
Download Excel TemplateThe steps to use the Toolbar are as follows:
- Click the “Customize Quick Access Toolbar” option drop-down on the Title Bar, and select the “Sort Descending” option, as shown below.

- The “Sort Largest to Smallest” button appears on the top of the Excel Ribbon.
Now, select cell range A2:A6, and click the “Sort Largest to Smallest” button, as shown below.
We get the output, i.e., the values sorted in descending order, large to small values, as shown below.


Key Takeaways
- The Quick Access Toolbar in Excel displays the frequently used features like save, undo, redo, etc., for quick usage, just with a click, as easy as their respective shortcuts.
- We can insert the toolbar, as per our convenience, on the top or bottom of the Excel ribbon.
- There are some default options already available on the Quick Access Toolbar, and we can select/deselect the same. However, if we require other options, we can customize using the add or remove options in the Excel Options window.
- We can also reset it to default settings to undo all the toolbar customizations.
- If we want to use our personal customized or saved toolbar features from one computer to another, we must use the “Import/Export” option in the Excel Options window.
How To Use The Toolbar In Excel?
We can use the Toolbar in Excel as follows:
- We can shift the toolbar’s location to the top or bottom of the ribbon, hide it, or add extra features or frequently used commands.
- We can even add and remove commands. Frequent commands like “Save,” “Open,” “Redo,” “New,” “Undo,” & “Email” are easily added to the toolbar.
- We can select the commands not listed in the toolbar from the three categories, including “Popular Commands,” “All Commands,” and “Commands Not Listed” on the ribbon.
Examples To Understand Quick Access Excel Toolbar
We will consider specific examples for the following Quick Access Excel Toolbar options,
- Adding Features to the Toolbar.
- Deleting Features from the Toolbar.
- Moving the Toolbar on the Ribbon.
- Modifying the Sequence of Commands and Resetting to Default Settings.
- Customize Excel Toolbar.
- Exporting and Importing of Quick Access Toolbar.
#1 – Adding Features to the Toolbar
We can add features to the toolbar is done in three methods, namely:
- Adding commands located on the ribbon.
- Adding features through the “More Commands” option.
- Adding the elements presented on the different tabs directly to the toolbar.
Method #1 – Adding commands located on the ribbon
Click the “Customize Quick Access Toolbar” option drop-down, and select the required options, as shown below.

Method #2 – Adding features through the “More Commands” option
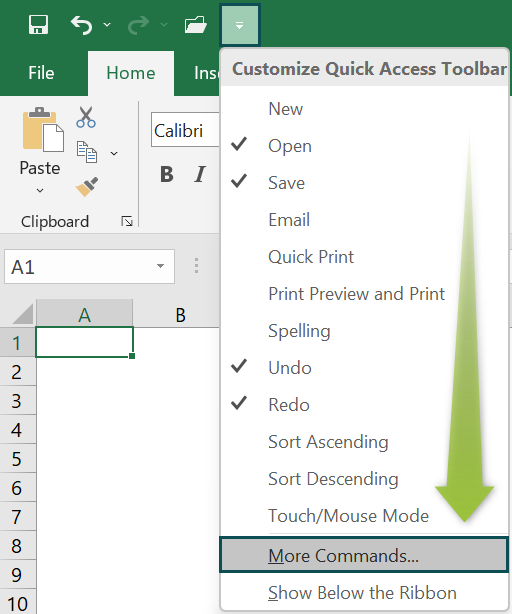
Click the “Customize Quick Access Toolbar” option drop-down, and select the “More Commands…” option, as shown below.
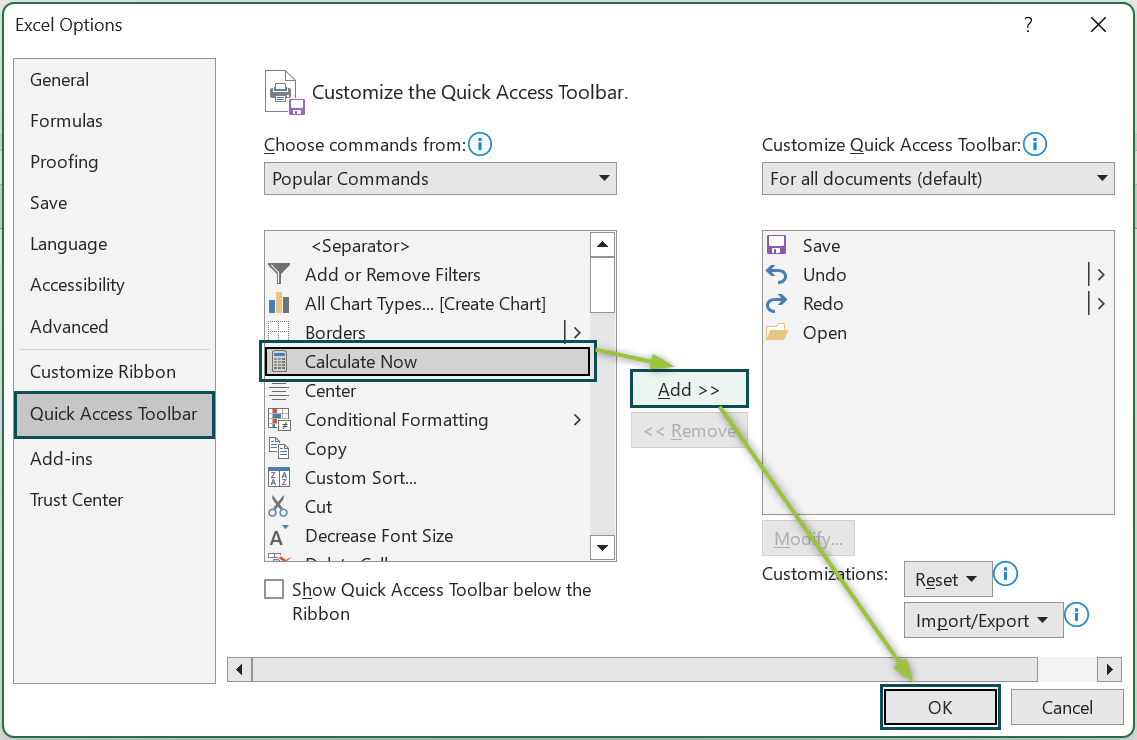
The “Excel Options” window opens.
- On the left side, choose the “Quick Access Toolbar” option.
- Then, on the right side, select the required commands from the “Choose Commands from:” category, and click the “Add” option to add the feature to the toolbar. Added features will be seen under the “Customize Quick Access Toolbar:” category.
- Finally, click “OK”, and the features will get added to the Excel ribbon for easy access.
Method #3 – Adding the elements presented on different tabs directly to the toolbar
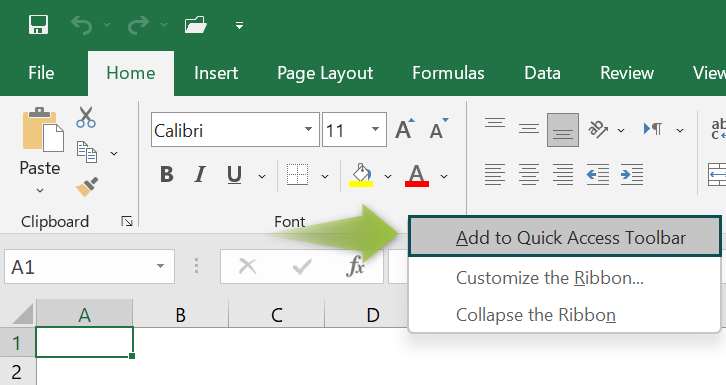
First, right-click on any feature we want on the Excel ribbon, and choose the “Add to Quick Access Toolbar” option.
As shown in the image below, the center and right alignment commands are added to the toolbar with this option.
#2 – Deleting Features from the Toolbar
The steps to deleting features from the Toolbar are,
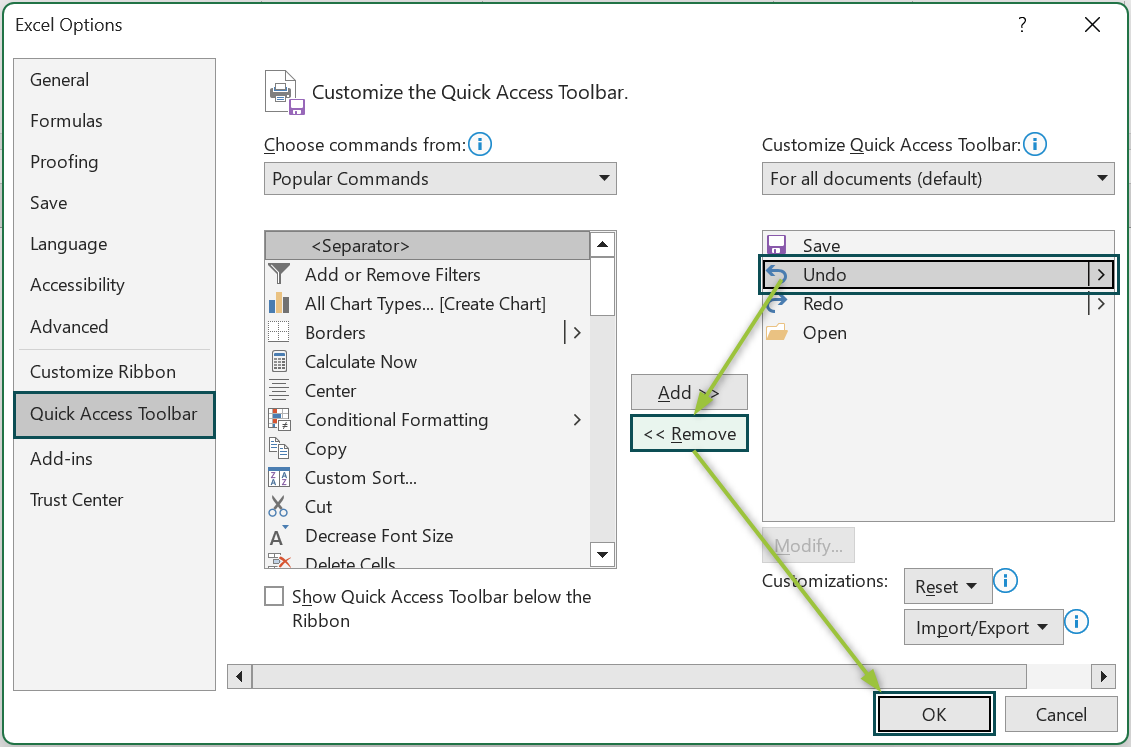
- Step 1: Click the “Customize Quick Access Toolbar” option drop-down, and select the “More Commands…” option, as shown below.

- Step 2: The “Excel Options” window opens.
- On the left side, choose the “Quick Access Toolbar” option.
- Then, on the right side, select the required commands from the “Choose Commands from:” category, and click the “Remove” option to delete the feature from the toolbar. Added features will be removed from the “Customize Quick Access Toolbar:” category.
- Finally, click “OK”, and the features will be deleted from the excel ribbon.
#3 – Moving the Toolbar on the Ribbon
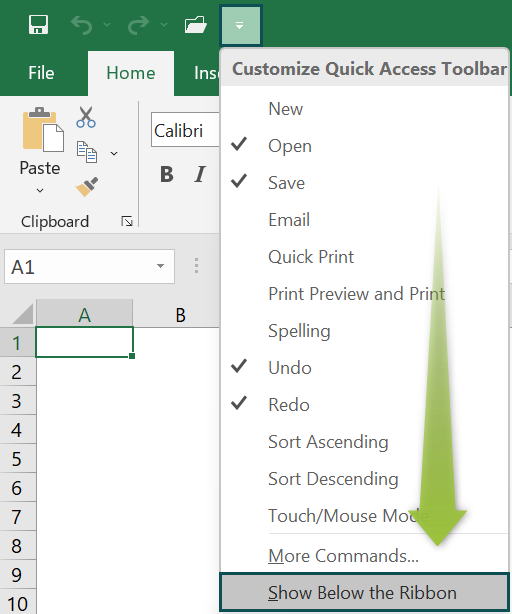
Click the “Customize Quick Access Toolbar” option drop-down, and select the “Show below the Ribbon” option, as shown below.
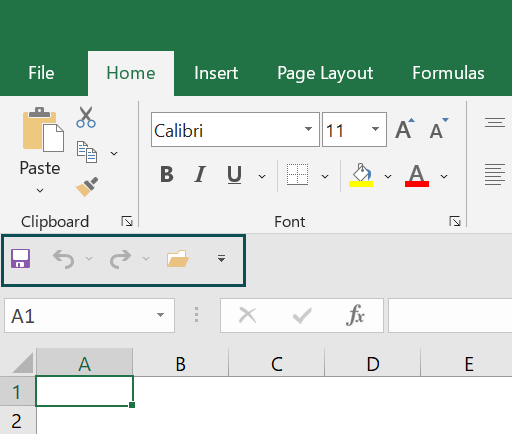
The Toolbar is moved from above the Ribbon to below the Ribbon, as shown in the below image.
#4 – Modifying the Sequence of Commands and Resetting to Default Settings
The steps to modify the sequence of commands and reset to default settings are,
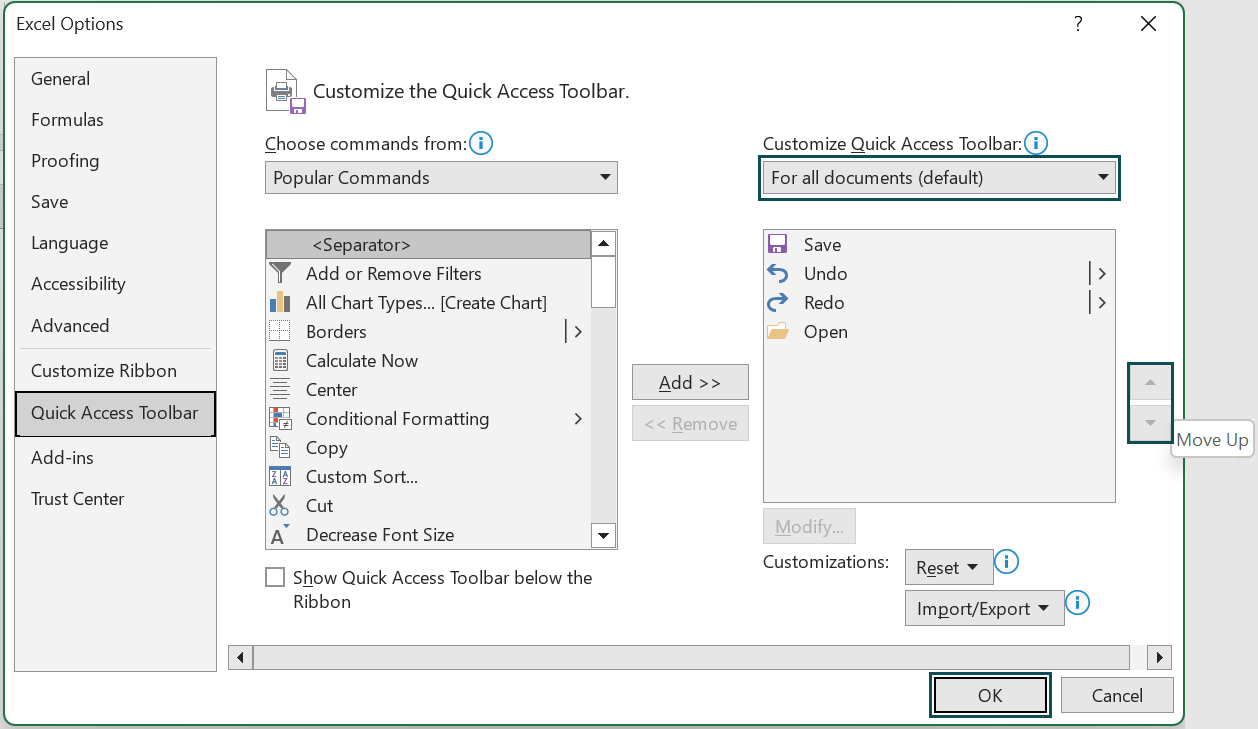
- Step 1: Click the “Customize Quick Access Toolbar” option drop-down, and select the “More Commands…” option, as shown below.

- Step 2: The “Excel Options” window opens.
- On the left side, choose the “Quick Access Toolbar” option.
- Then, on the right side, click the “Customize Quick Access Toolbar:” category drop-down, and select the “For all documents (default)” option.
- Finally, click “OK” to get the default settings.
#5 – Customize Excel Toolbar
The steps to customize the Excel toolbar are,
- Step 1: Click the “Customize Quick Access Toolbar” option drop-down, and select the “More Commands…” option, as shown below.

- Step 2: The “Excel Options” window opens.
- On the left side, choose the “Quick Access Toolbar” option.
- Then, on the right side, under the “Customize the Quick Access Toolbar:” category, we can “add”, “remove”, “reset”, “change the location of the toolbar”, “modify”, and “alter the features”.
- Finally, click “OK” for the features to get added to the excel ribbon for easy access.

#6 – Exporting an Importing of Quick Access Toolbar
The steps to export and import of Quick Access Toolbar are,
- Step 1: Click the “Customize Quick Access Toolbar” option drop-down, and select the “More Commands…” option, as shown below.

- Step 2: The “Excel Options” window opens.
- On the left side, choose the “Quick Access Toolbar” option.
- On the right side below, click the “Import/Export” button drop-down. We will get options to import or export the Quick Access Toolbar customization done on our computer and to use it on another computer, and vice versa.
- Finally, click “OK”, as shown below.

Important Things To Note
- We cannot change the size of the toolbar buttons, but we can change the screen’s resolution.
- The commands like indent and spacing are not added to the toolbar.
- We can add as many Quick Access Tools, but only some commands are visible as per the screen size.
Frequently Asked Questions (FAQs)
The Toolbar on Excel is where we add some commands or tools associated with Excel for quick access. By default, it is present above the Excel Ribbon with different tools.
Let us understand the usage of the Quick Access Toolbar on Excel with an example.
For example, the image depicts the values, and we will arrange the values in ascending order using the Toolbar in Excel.
The steps to arrange the values are as follows:
• Step 1: Click the “Customize Quick Access Toolbar” option drop-down on the Title Bar, and select the “Sort Ascending” option, as shown below.
• Step 2: The “Sort Smallest to Largest” button appears on the top of the Excel Ribbon.
Now, select cell range A2:A6, and click the “Sort Smallest to Largest” button, as shown below.
We get the output, i.e., the values sorted in ascending order, small to large values, as shown below.
One can activate the Toolbar on Excel using the following steps:
1) Select the cells containing data.
2) Click the “Customize Quick Access Toolbar” arrow button above the Excel Ribbon.
3) The “Customize Quick Access Toolbar” opens with a list of commands.
Use this Toolbar On Excel Template to follow along with the examples in this article.
Download Excel Template