
What Is Google Sheets Date Picker?
The Google Sheets Date Picker is a calendar that automatically shows under a chosen cell when we double-click inside it. We can create a date picker in Google Sheets using the Data validation option.
Users can utilize the Google Sheets Date Picker to enter past, present, or future dates while managing event timelines and project deadlines, and maintaining task schedules.
Use this Google Sheets Date Picker Template to follow along with the examples in this article.
Download Excel TemplateFor example, the source dataset lists tasks.

The requirement is to update the implementation date for each task in column B.
Then, we can update the required dates using Google Sheets Date Picker option.

In this Google Sheets date picker format example, we choose the cell range B2:B6, where we must enter the task implementation dates. Next, we select the Google Sheets Data validation option, similar to Excel Data Validation, from the Data tab to access the Data validation rules panel.
We set the Criteria field as the Is valid date option and click Done.
Next, double-click in cell B2 to view the pop-up calendar below the chosen cell. We can now choose the required date from the calendar, in line with the Google Sheets date picker single click concept.
Likewise, we can update the remaining implementation dates using the Google Sheets date picker format in cells B3:B6.
Key Takeaways
- The Google Sheets Date Picker is an option that appears as a pop-up calendar below a cell, on double-clicking inside the specific cell.
- The date picker option in Google Sheets is helpful when managing project timelines, booking systems, and making business time-based decisions. The option is also useful for planning events for a specific period, spanning across multiple dates.
- We can use the Data validation option from the Data tab to create a pop-up calendar as a date picker in Google Sheets. However, we must be careful that the data validation rule criterion is date-based.
How To Create A Date Picker In Google Sheets?
The steps for creating and using Google Sheets Date Picker are as follows:
- Choose the cell or cell range where we aim to display the date picker.
- Select the Data tab – The Data validation option.
- The Data validation rules panel will open, where we must click the + Add rule button.
- The panel will show the chosen cell or range as the Apply to range field input. Next, we must choose the Is valid date option to update the Criteria field. After that, update the appropriate Advanced options to manage the scenarios when users input invalid date values.
- Click Done to apply the created data validation rule to the selected range.
- We can now double-click a cell in the chosen range to view a pop-up calendar based on the Google Sheets date picker single click concept. So, the date picker helps in making updating dates more straightforward without worrying about the date format.
Furthermore, the Criteria field shows more date-based options, which we can use based on our requirements. For example, we can set a date range between which a user must enter the dates in the chosen cell range utilizing the date picker to consider the entered date value as a valid entry.
Examples
The following illustrations explain the different ways of implementing Google Sheets date picker in cell or range.
Example #1
We have a dataset where we must update the inventory levels and their entry dates at a warehouse.

We shall use a date picker to update the entry dates, as explained below:
Step 1: Choose the range A2:A6 and then Data – Data validation.

The Data validation rules window appears on the right of the work area, where we must click the + Add rule button.

Step 2: The Apply to range field in the Data validation rules window shows the chosen range. Next, update the Criteria field as Is valid date. Further, we shall set the settings in the Advanced options section to display a warning statement if the user enters an invalid date into a cell in the chosen range.

Clicking Done will show the created rule in the Data validation rules window, as depicted below.

Now, when we double-click inside cell A2, the date picker calendar appears below the chosen cell.

Click the required date in the calendar to view it in the chosen cell.

Next, we can double-click the next cell in the chosen range and select the required date from the calendar to update the required date value in the specific cell.


Likewise, update the dates by utilizing the date picker option in the remaining cells.

Next, update the inventory levels for each date in column B. Finally, we shall select the range A2:A6 and press Ctrl + B to present the dates in bold.

Example #2
The source dataset lists the new joiners at a firm.

We must update their dates of joining in column B cells B2:B6, with the dates between 6/1/2024 and 6/30/2024 counted as valid entries.
Step 1: Select the range B2:B6 and then Data – Data validation.

The above action opens the Data validation rules window on the right of the workspace, where we must click the + Add rule button.

Step 2: The Apply to range field in the Data validation rules window shows the selected range. Next, update the Criteria field as the Date is between, which will show two more fields to update the lower and upper limits of the specific date range.

Further, we shall set the settings in the Advanced options section to display a warning statement if the user enters an invalid date into a cell in the chosen range.

Clicking Done will show the created rule in the Data validation rules window, as depicted below.

Now, once we double-click inside cell B2, the date picker calendar appears below the chosen cell.

Click the required date in the calendar to view it in the chosen cell.

Next, we shall double-click inside cell B3 and assume we select a date from the pop-up calendar that is outside the specified date range, say, 5/30/2024.

When we choose an invalid date from the calendar, it appears in the specific cell. However, we can see a warning message stating that the input must be within the cited date range.

So, we will delete the invalid date and then double-click inside cell B3 and select a valid date from the calendar.


Likewise, we can update the dates within the cited date range in the remaining target cells by utilizing the date picker functionality.

Example #3
The source dataset shows the order data at a firm.

We must update the order dates in column D cells D2:D6, which is specifically tomorrow’s date.
Then, the steps are as follows:
Step 1: Choose the cell range D2:D6 and then Data – Data validation.

The above step opens the Data validation rules window on the right of the workspace, where we must click the + Add rule button.

Step 2: The Apply to range field in the Data validation rules window highlights the selected range. Next, update the Criteria field as the Date is.

We will see one more field, which we will update as the tomorrow option.


Next, we shall update the settings in the Advanced options section to display a warning statement if the user enters a date other than tomorrow’s date into the required cell.

Click Done to view the created rule in the Data validation rules window, as depicted below.

Now, assume tomorrow’s date is 5/22/2024.
We shall double-click inside cell D2 to view the date picker calendar below the chosen cell. Click the date 5/22/2024 to view it in the selected cell.

However, assume we select a date in the next cell by utilizing the date picker calendar, which is not tomorrow’s date, as shown below.

We shall see the chosen date in the specific cell but with a warning message stating that the cell’s content violates its validation rule.

So, the solution is to delete the invalid date or directly double-click inside the cell to choose the valid date using the pop-up calendar.


Likewise, we can update the required dates in the remaining target cells by utilizing the date picker option.

Importance
Consider that we need to manage a project timeline or plan tasks and events, which involves updating date values.
If we enter the dates manually or using formulas in Google Sheets, it can lead to errors. Correcting such errors can be tedious and time-consuming.
However, the Google Sheets date picker in cell or range ensures we select the right date each time. Thus, the option helps in avoiding errors, which we might face when entering date values using formulas or directly into the required cells.
Furthermore, the pop-up calendar looks more presentable and offers a highly professional way of updating dates in our work-related Google Sheets files.
Thus, the pop-up calendar date picker ensures accuracy and streamlines our work processes.
Important Things To Note
- When creating the Google Sheets Date Picker, ensure to update the correct date criteria in the Data validation rules pane. Otherwise, we might see warning messages or the input date value getting rejected.
- Once we complete all the steps to create the date picker in Google Sheets, we must double-click inside the required cell to view the pop-up calendar as the date picker tool.
Frequently Asked Questions (FAQs)
You can add a date list using a date picker in Google Sheets using the following method, explained with an illustration.
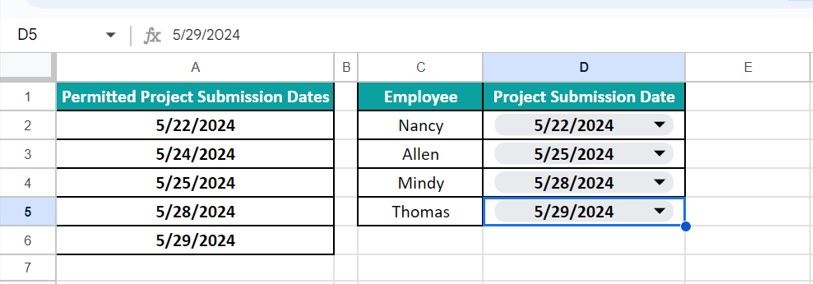
The source dataset shows a list of employees.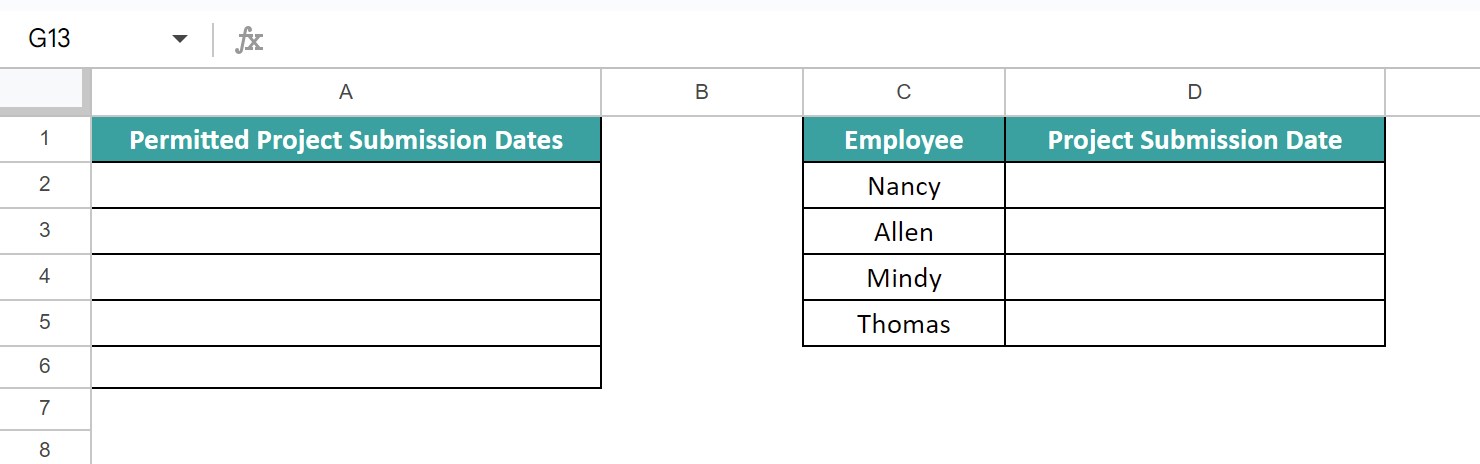
The aim is to list the permitted project submission dates in column A cells, A2:A6. Next, we must make a list of the permitted dates to update the required project submission dates in column D cells for the listed employees.
Step 1: Choose the range A2:A6 and then Data – Data validation.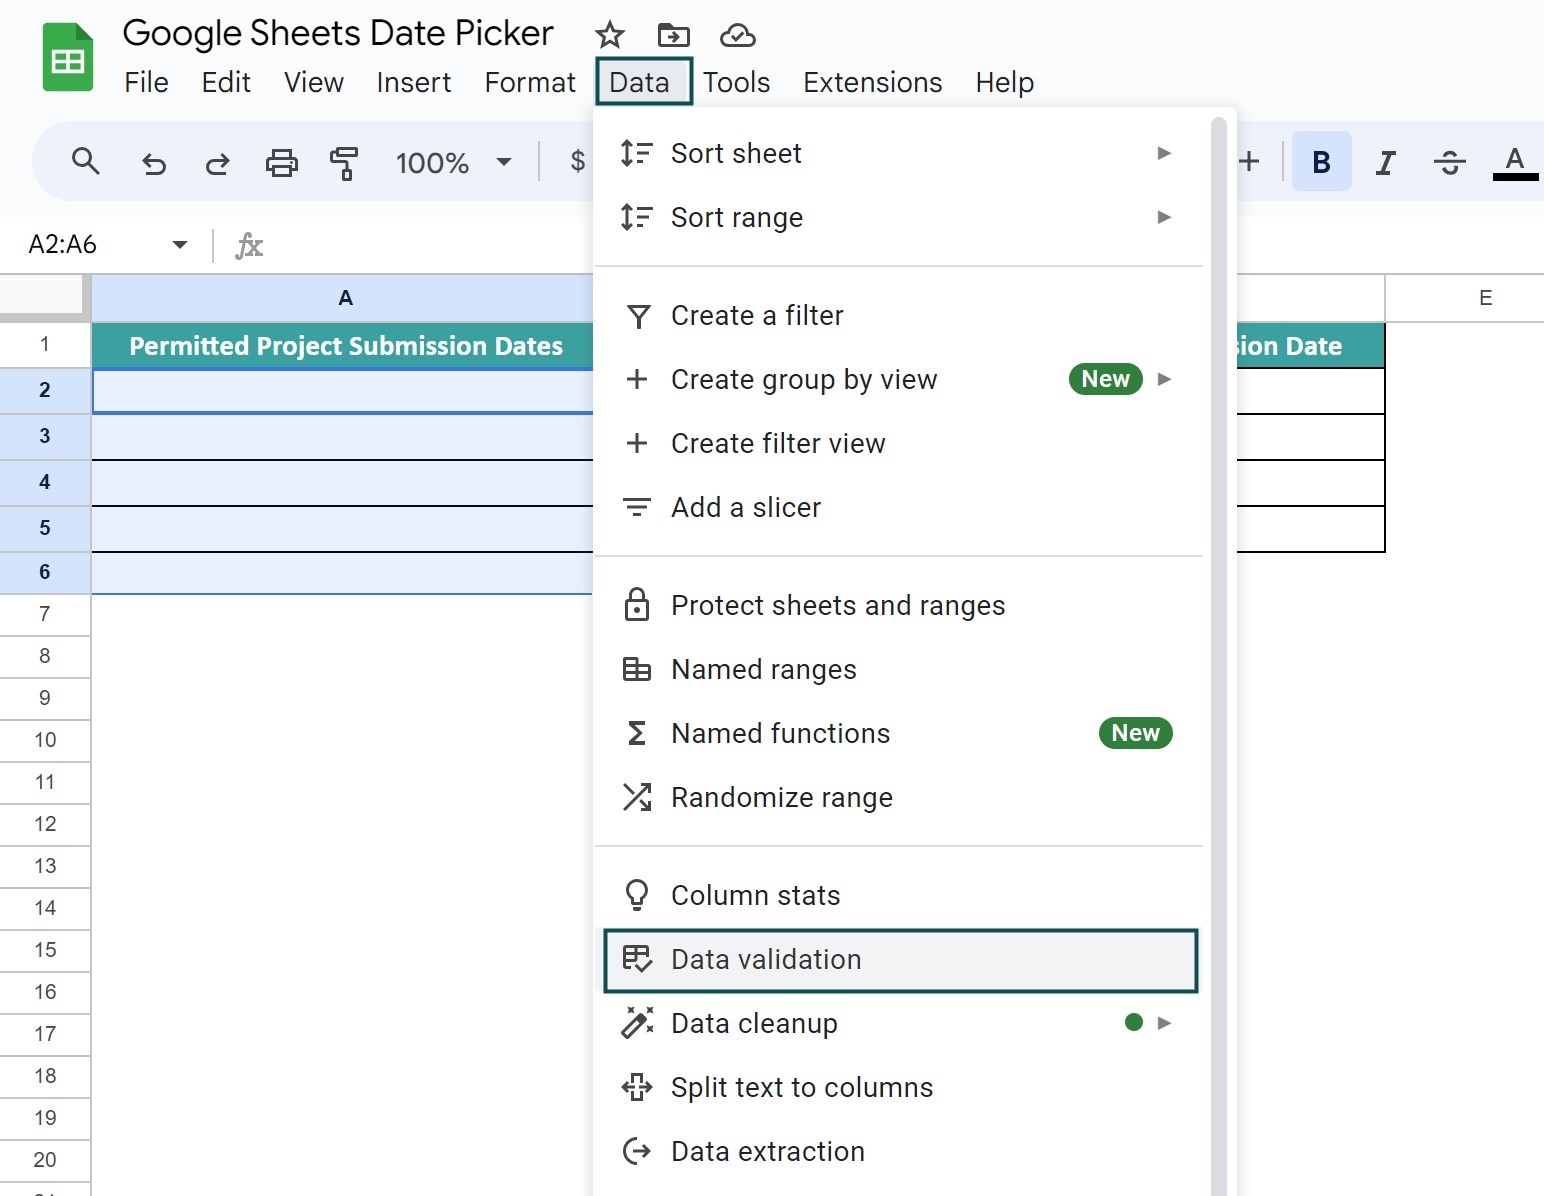
The above step opens the Data validation rules window on the right of the workspace, where we must click the + Add rule button.
Step 2: The Apply to range field in the Data validation rules window highlights the chosen range. Next, update the Criteria field as the Date is on or before.
We will see one more field, which we will update as the exact date. This field will show another field where we update the required date.
Next, we shall update the settings in the Advanced options section to display a warning statement. It is if the user enters an invalid date into the required cell.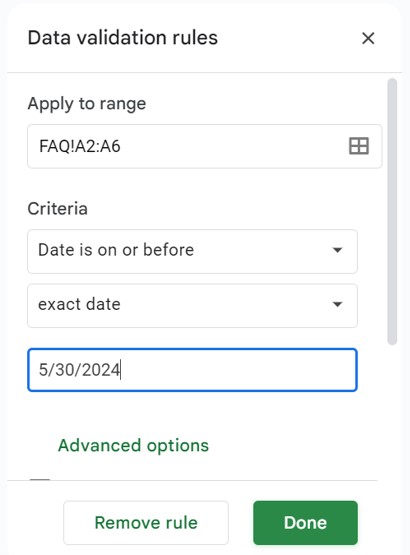
Click Done to view the created rule in the Data validation rules pane, as depicted below.
Now, we can double-click in cell A2 to view the calendar as the date picker option.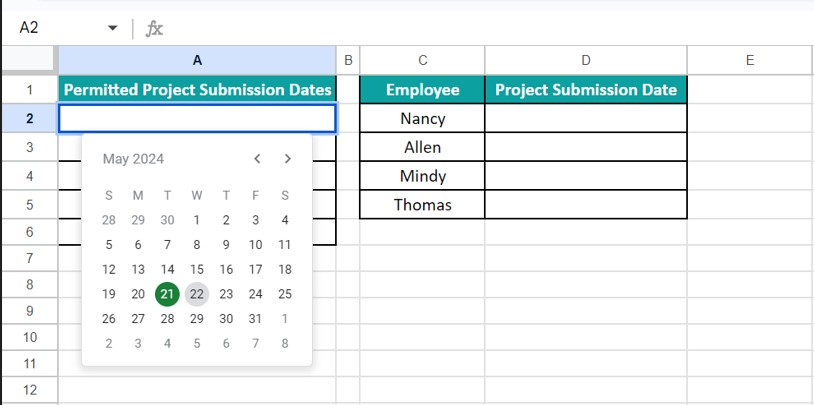
Please select the required date in the calendar to view it in the specific cell.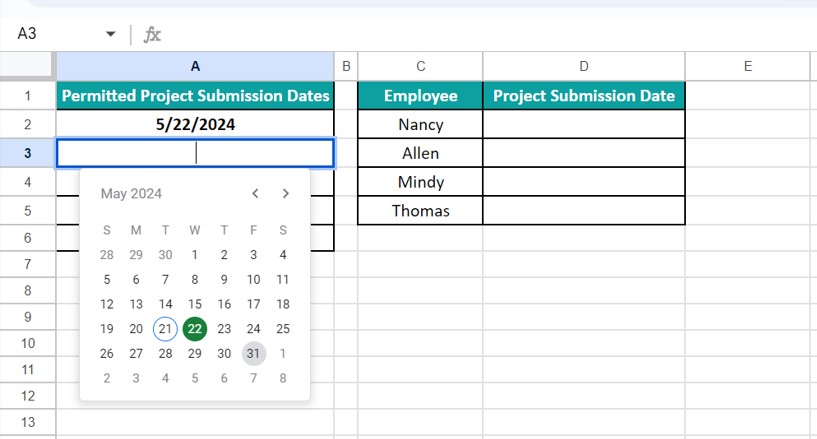
Next, assume we try updating a date that falls after the date specified in the validation rule in the next cell by utilizing the date picker. Then, we shall see the chosen date, but with a warning message stating that the input must be on or before the cited exact date.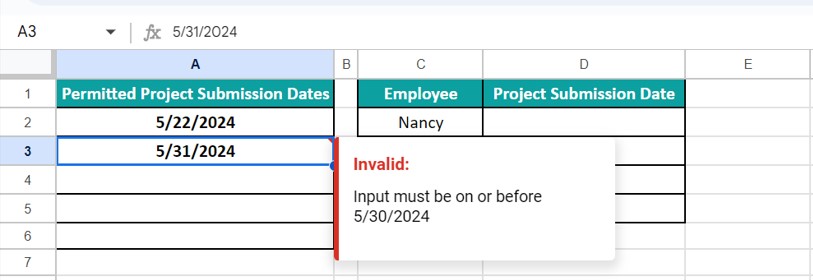
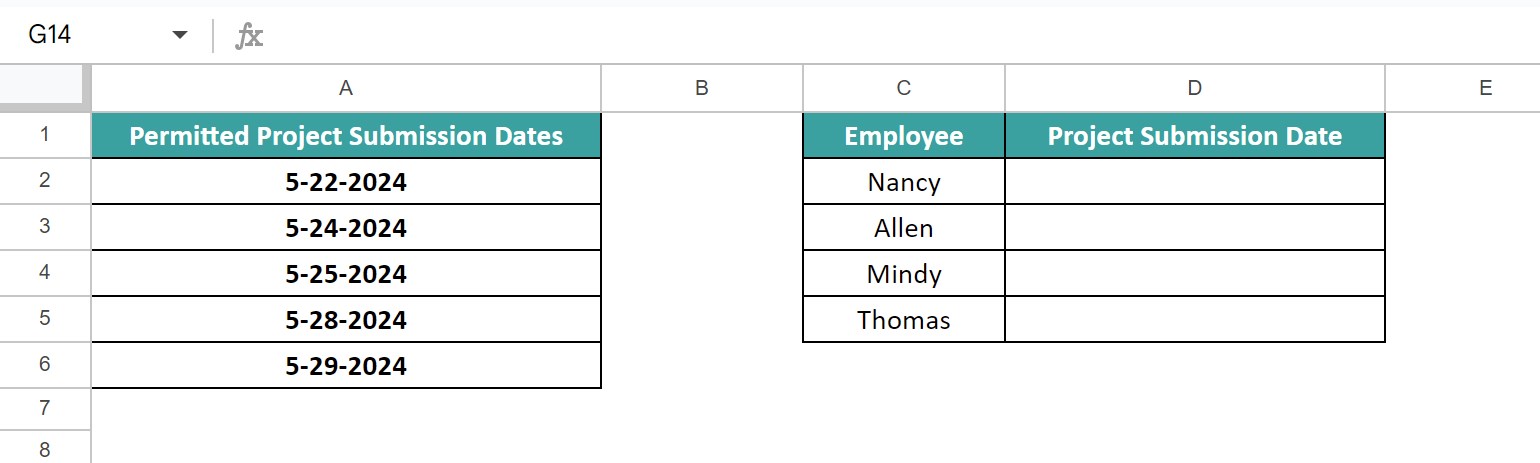
So, we can use the date picker option to update the valid dates into the remaining column A cells.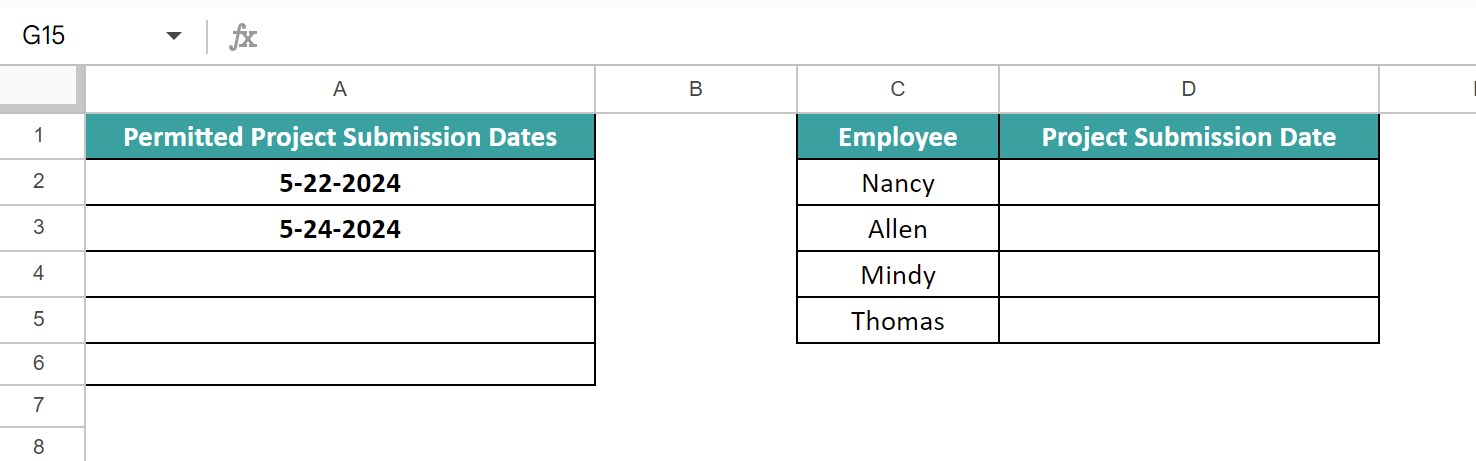
Step 3: Select the range D2:D5 and then Data – Data validation.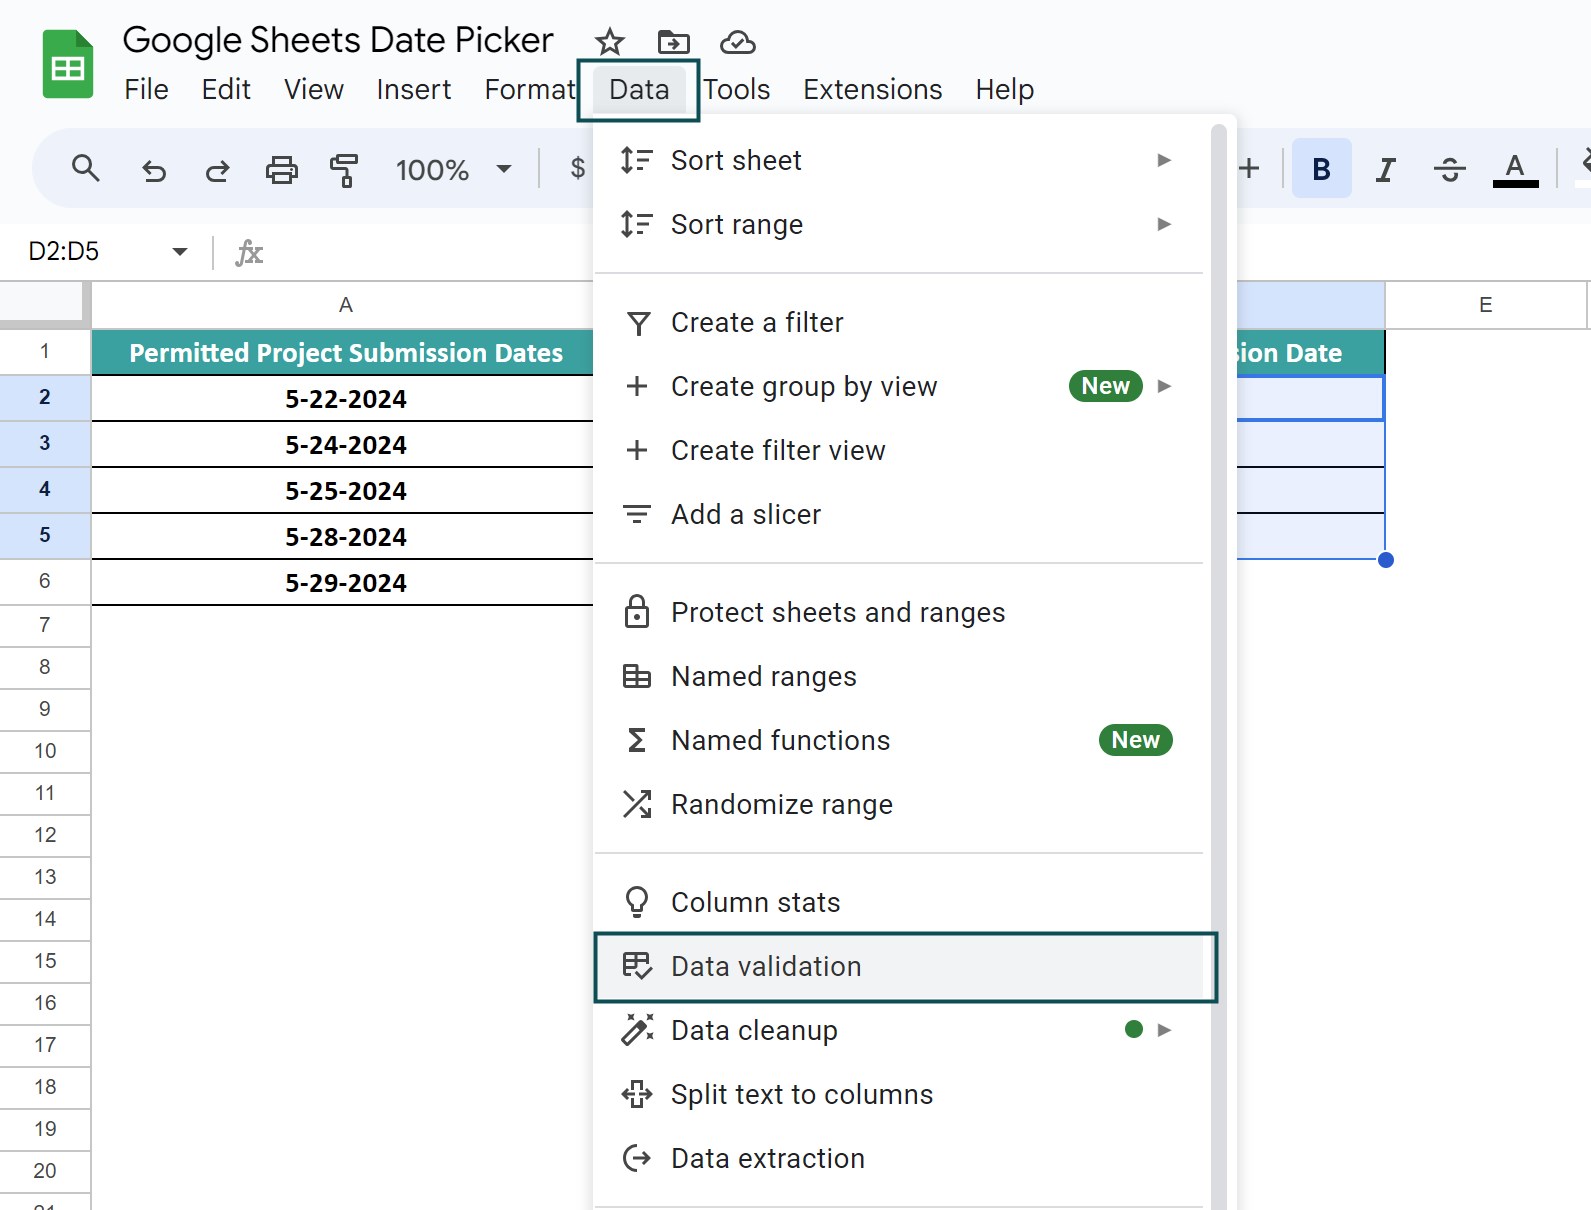
The Data validation rules pane will open, where we must select the + Add rule option.
Step 4: The Apply to range field in the Data validation rules window highlights the selected range. Next, update the Criteria field as the Dropdown (from a range).
Next, click the field below it, which will open the Select a data range window. Here, we must update the range containing the values with which we aim to prepare the dates list. It is required to update the project submission date for each employee. Click OK.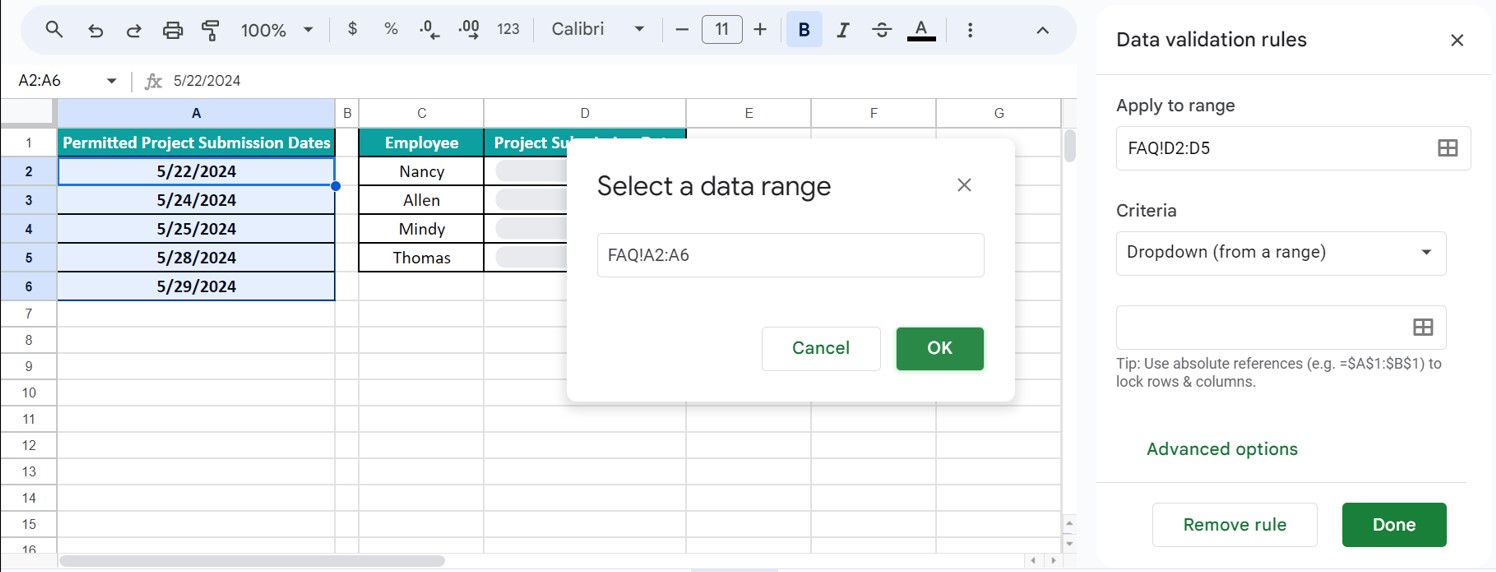
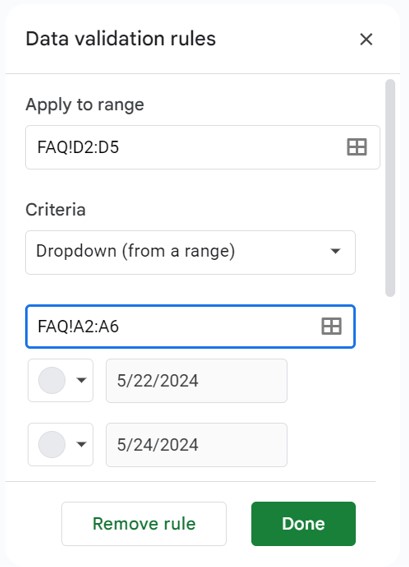
Next, we shall set the settings in the Advanced options section It is used to show a warning statement if the user enters a date other than those permitted into the required cell.
Click Done to view the created validation rule in the Data validation rules pane, as depicted below.
Now, click the dropdown button in cell D2 to choose the required date from the permitted dates list to populate the cell.
Likewise, update the remaining column D cells.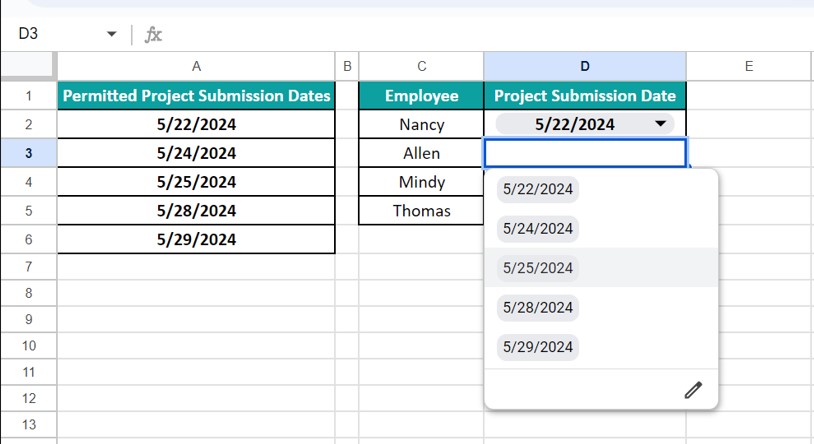
You can insert a time picker along with the date picker in Google Sheets by formatting cells to include time by selecting the required date-time format from the Format tab – Number.
You can use the date picker in Google Sheets on a mobile device, as the date picker option is available in the Google Sheets app for mobile devices.
Use this Google Sheets Date Picker Template to follow along with the examples in this article.
Download Excel Template